Bella Amore Photography Art & Design Studio Logo

The Love Boat Book Mockups and Renderings & a FREEBIE Template
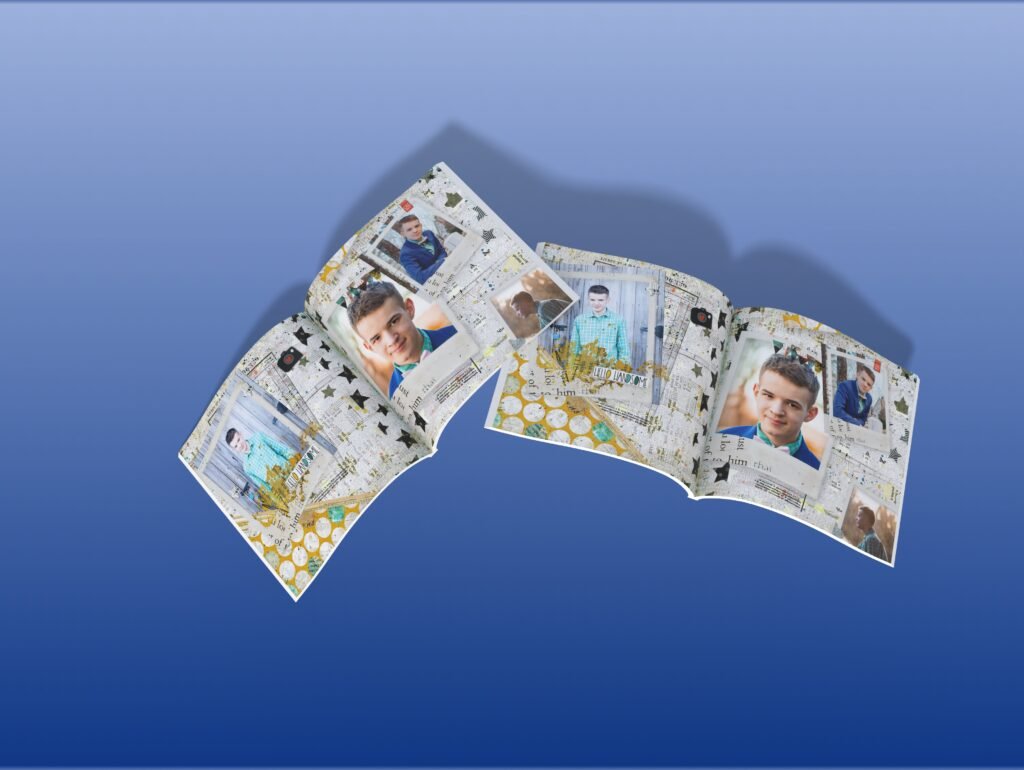
We chose to partner with a 3D modeling program/software for packaging and rendering our books. Sometimes their software crashes because we use them to the fullest extent with our beautiful album pages. 🙂 But we love being able to show our work in 3D. We know that sometimes it’s hard to visualize how your designs will look as an end result so that’s why we like to show them off in a 360 view. Feel free to pinch and zoom on the image to make it bigger, spin it around and do all the things to get a closer look.

We’ve created two, double page spreads so far. One is more in a boyish, teen, rock style.

The other is a more feminine style for weddings and Valentine’s Day.
Take a look and download the FREEBIE template to see what your art would look like.
These are the instructions to use the templates.
- Use the link to access the template in Canva. Canva may prompt you to sign up for an account, if you haven’t already. You do not need the pro account. A free account will be fine.
Using Our Love Book Templates with Canva on a Mobile Device
- If you are accessing Canva via mobile device, you will scroll to the left of the design until you see the “Uploads” button. Click it.
- Then find a picture on your phone that you’d like to upload.
- Once your image is uploaded, tap it to place it into the design. You can choose to alter your image however you’d like to do that.
- To place it into the correct position, you need to scroll to the left and find the “layers” or the “position” feature. Either one will do the same thing. If you are visual, you might like the layers option. If you want to just make the image pop into place quickly, use the “position” feature.
- Move your photo backwards so that it appears beneath the top layer. There’s only two layers in the design to make it easy for beginners.
- Canva will give you the option to resize your picture to fit. Just use the handles on the sides of the image to resize it appropriately.
Using Our Love Book Templates with Canva on a Desktop
- If you are accessing Canva via a computer, it looks similar but it’s a little different. Once you are in the design, the toolbar appears on the left side of the screen.
- Scroll to the down in the toolbar until you see the “Uploads” button. Click it.
- Then find a picture on your computer that you’d like to upload.
- Once your image is uploaded, tap it to place it into the design. You can choose to alter your image however you’d like to do that.
- To place it into the correct position, you need to scroll to the left and find the “layers” or the “position” feature. Either one will do the same thing. If you are visual, you might like the layers option. If you want to just make the image pop into place quickly, use the “position” feature.
- Move your photo backwards so that it appears beneath the top layer. There’s only two layers in the design to make it easy for beginners.
- Canva will give you the option to resize your picture to fit. Just use the handles on the sides of the image to resize it appropriately.
Exporting for Printed Photo Albums or Prints
- Here you have a decision that I will make for you. Canva allows you to export in many different formats. But for our purposes, we will export for printing into a Walmart, Amazon, Shutterfly, Snapfish, Apple, Google, Disney, and/or Artifact Uprising photo album. We need a .jpg to do that.
- Navigate to the top right of the page, click SHARE. Then click DOWNLOAD.
- Choose .jpg and make your quality settings as high as possible. The reason being is that we need to make sure that your prints look as good as they can.
- On a computer, it should look like this:

- Now the .jpg is on your computer. Watch the video below to see how you can upload Bella Amore artwork to Shutterfly and enjoy an artistically crafted photo album.
CLICK FOR VIDEO: How to Import Into Shutterfly Photo Albums
Thank you for reading and we are looking forward to publishing more content around our albums soon. Check the Bella Amore store for more downloads and come back hear to learn more.


